How to Crochet An Invisible Slip Stitch Join
In this post will find all the information you need to learn how to make an invisible slip stitch join when crocheting in the round. You will master this useful technique in not time at all, and I will also share a great free crochet pattern for you to practice your newfound skill!
This post may contain affiliate links; if you click and make a purchase, I may earn a small commission. Thank you for your support! Full affiliate disclosure here.
About Best Crochet Life Photo Tutorials
Since 2021, I’ve been including this tutorial for popcorn stitch in the crochet patterns I sell on Etsy and Ravelry. The feedback is consistently positive. You don’t need to Google if you don’t know a technique or specialty stitch when you’re making one of my designs. You can just get straight to hooking!
Great patterns, easy to follow, with clear explanatory photos. I’ve never done half of these stitches before but the instructions are very clear. I’m making a lovely blanket from them ⭐⭐⭐⭐⭐
Laura, Verified Etsy Buyer, Nov 2023
What is an Invisible Slip Stitch Join?
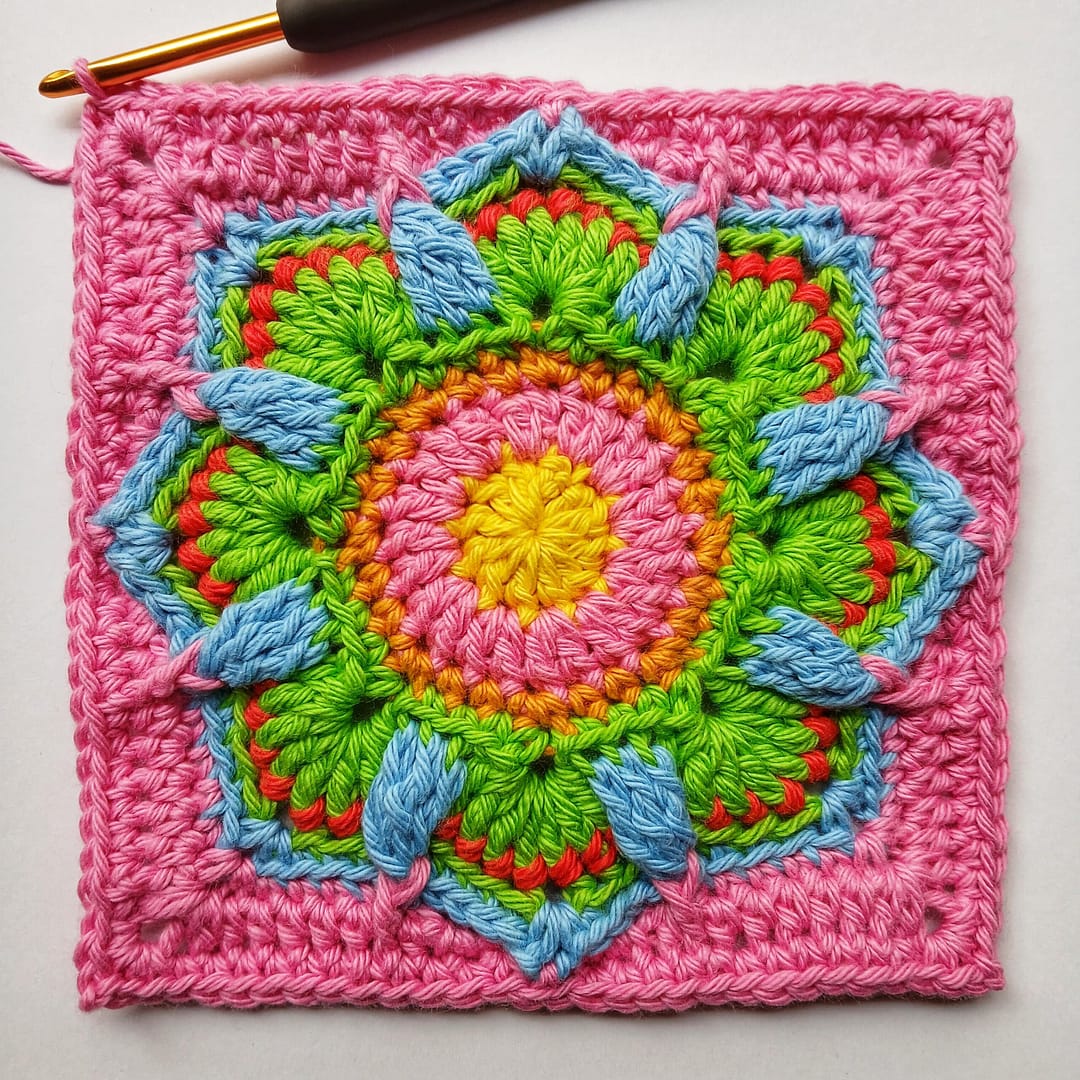
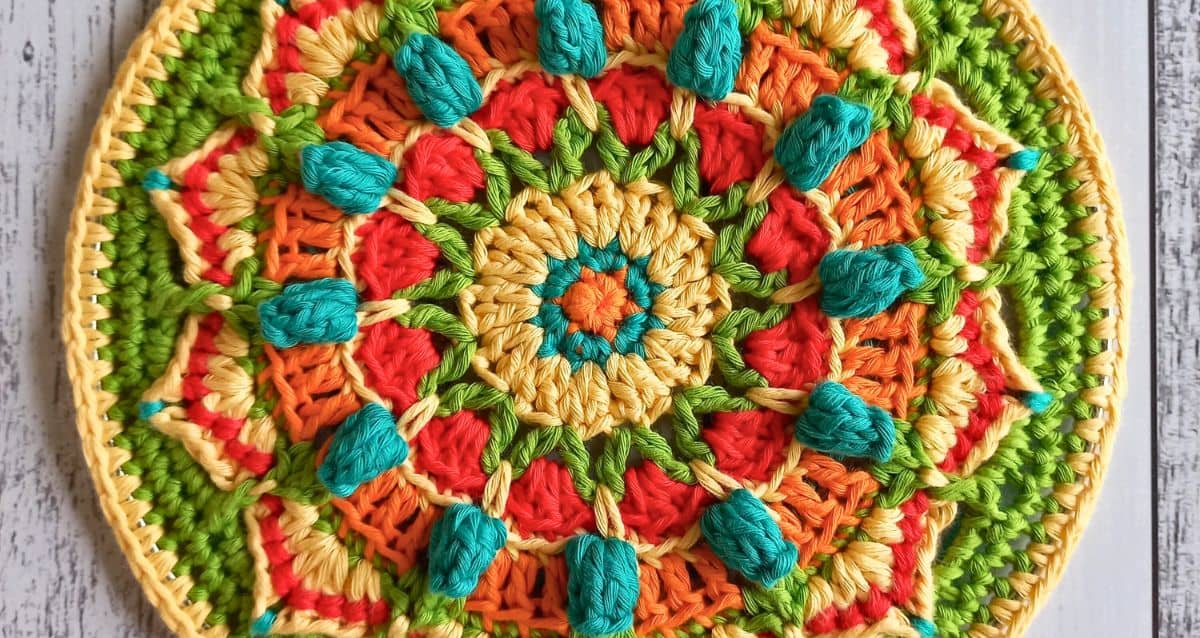
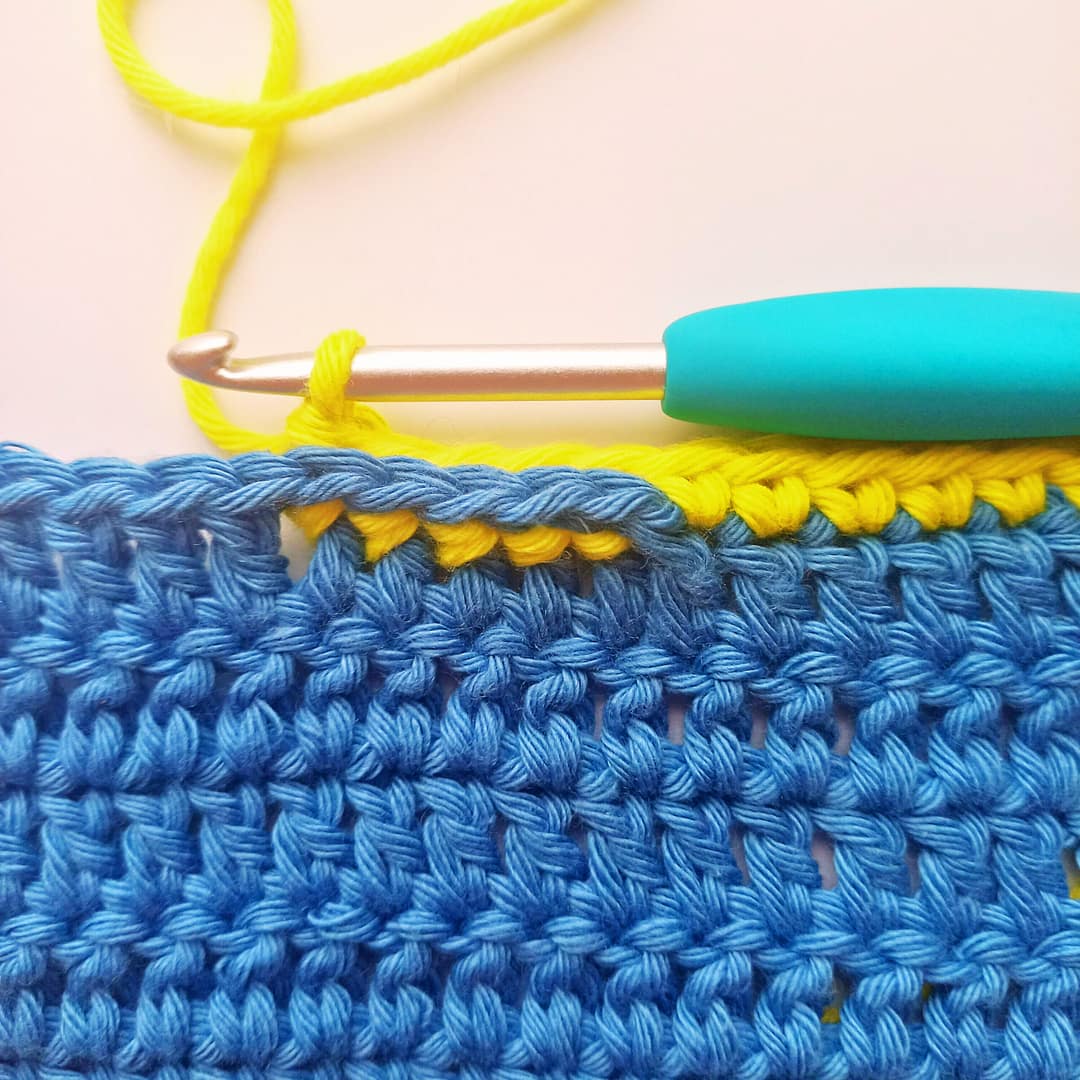
In crochet, an invisible slip stitch join in the round is commonly used to finish rounds in amigurumi or other projects such as this free crochet basket pattern, where a clean, nearly invisible transition between rounds is desired.
How to Make an Invisible Slip Stitch Join
An invisible slip stitch join in the round involves removing the hook from the working loop at the end of the round and inserting it from back to front through the first stitch of the round. Then, the loop is pulled through this stitch, creating a neat and pleasing join.

Simply follow the written steps and the images will keep you right! Click or tap on the top right corner of any image to enlarge it if you need to.
Invisible Slip Stitch Join Photo Tutorial
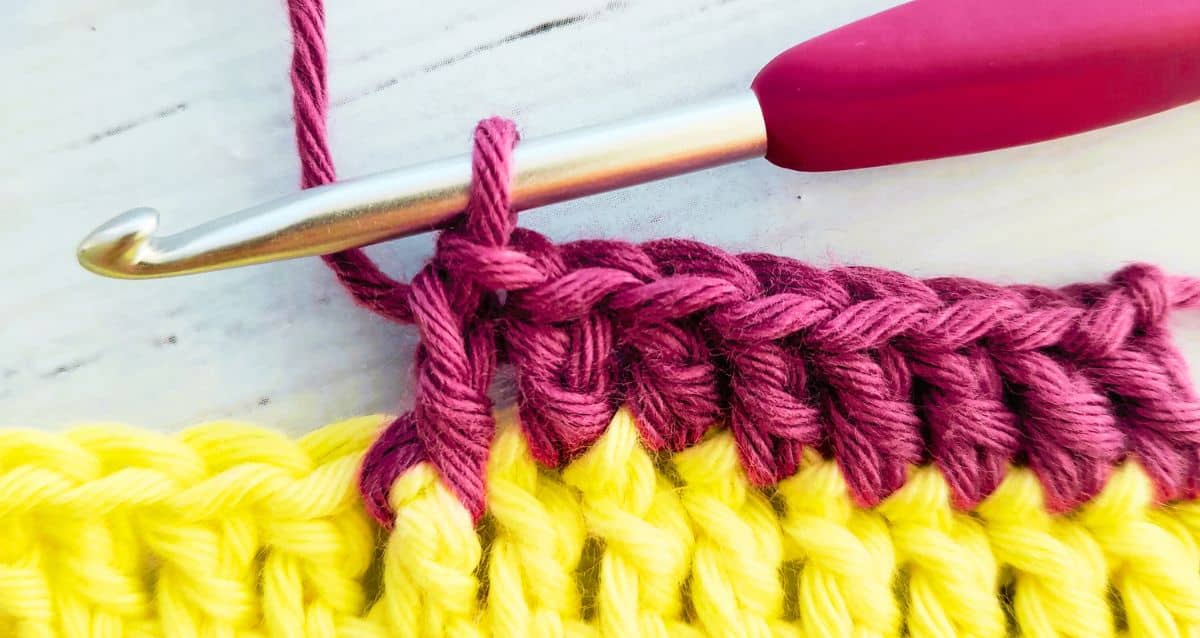
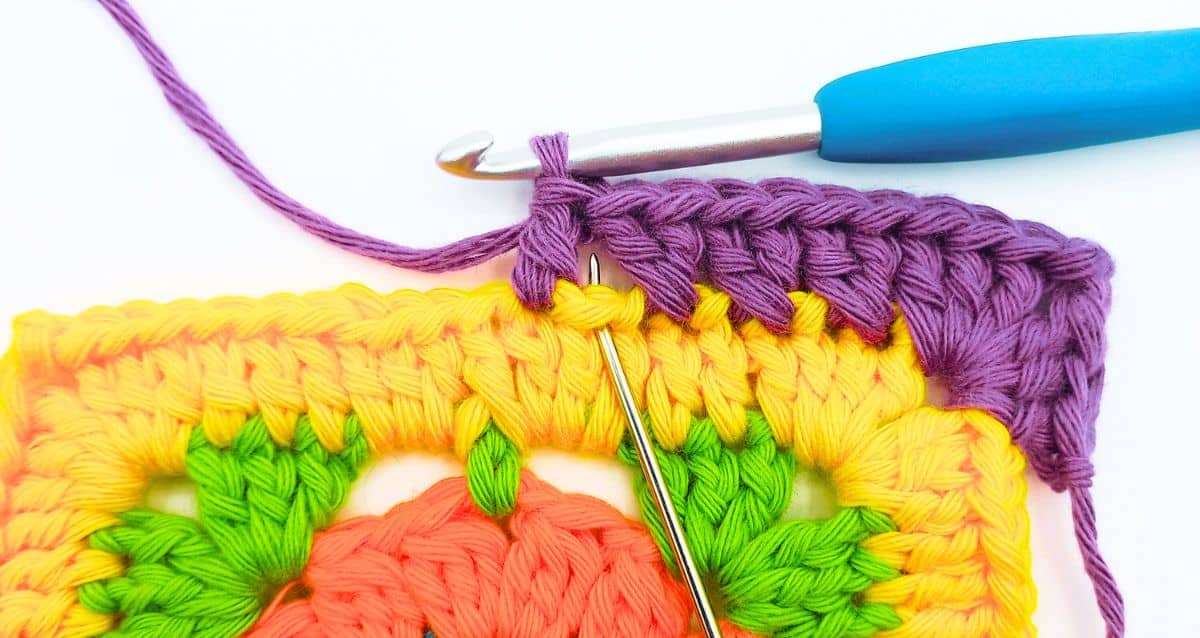
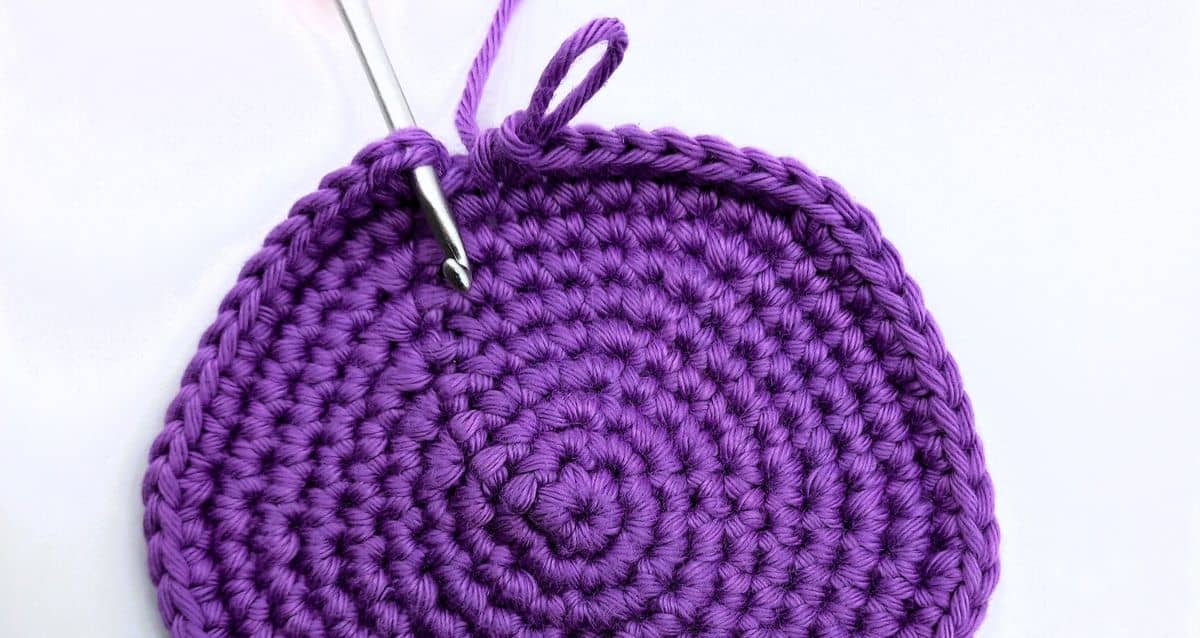
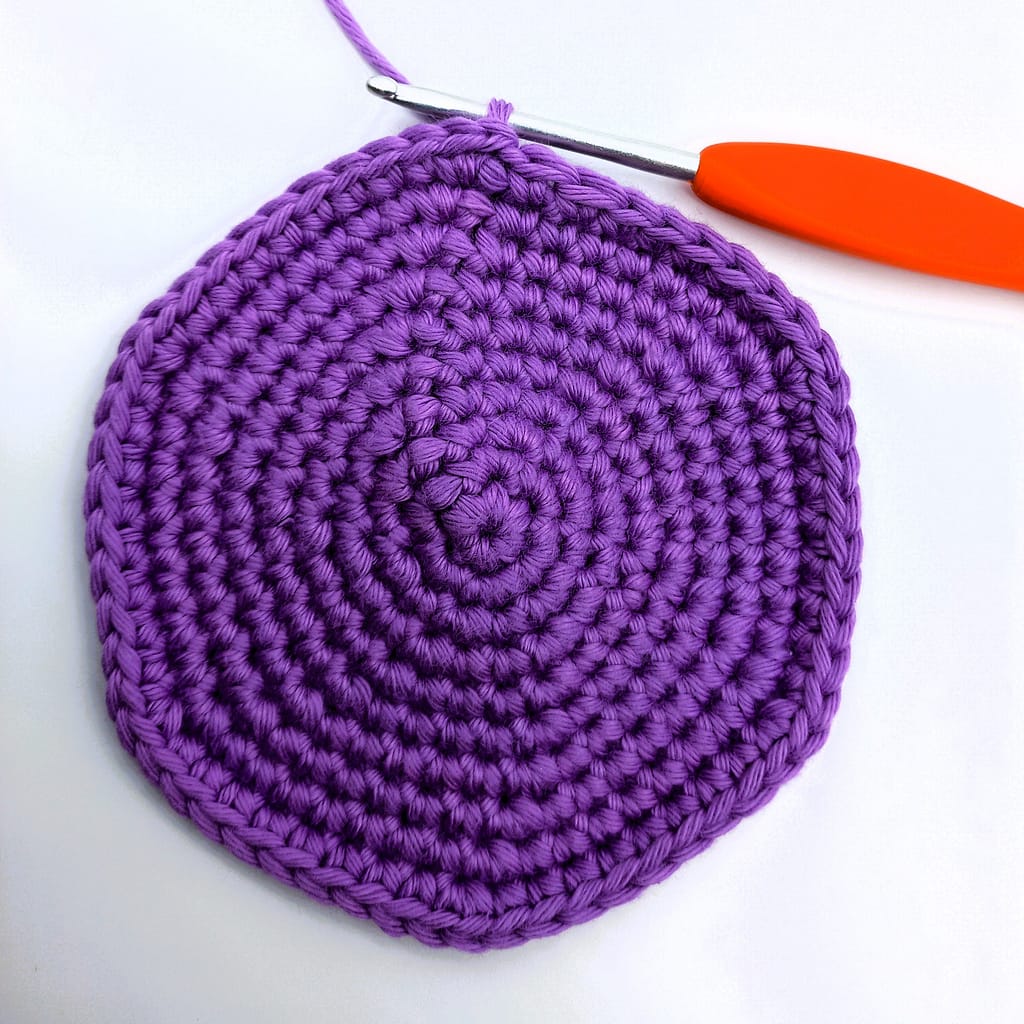
Step 1: Complete the last stitch of your round (image below)

Step 2: Remove hook from loop, and insert it back to front through the first stitch (image below)
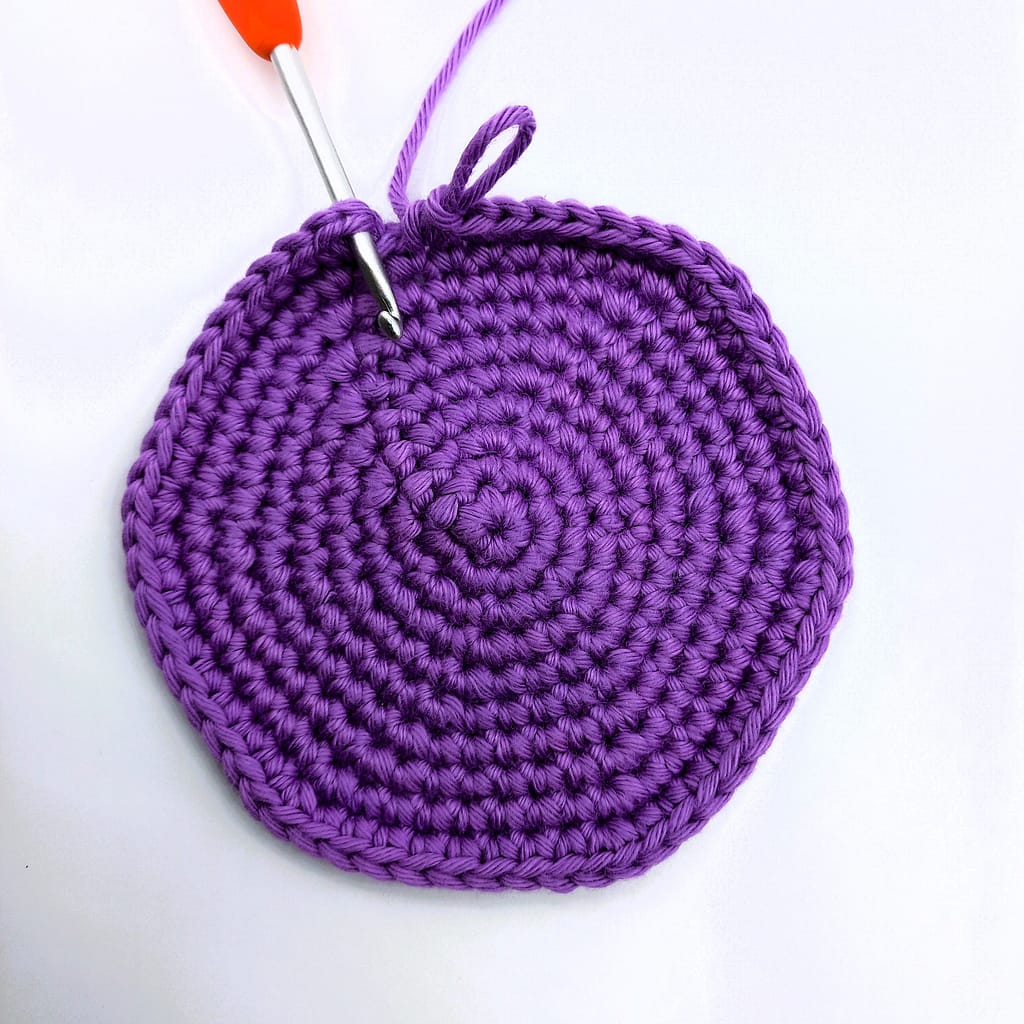
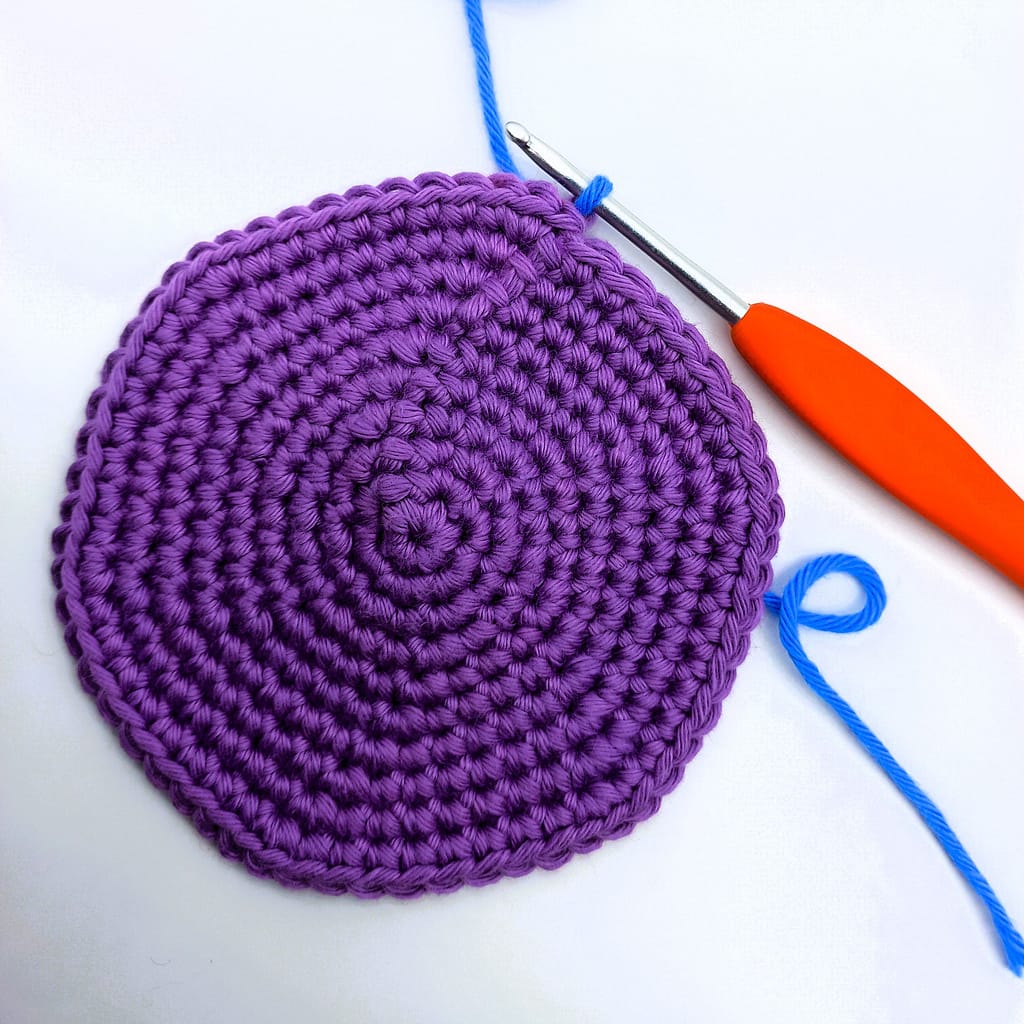
Step 3, same colour: Pull loop through from front to back (image below) and you are ready to ch1 and proceed
Step 3, new colour: yo with new yarn and pull through loop (image below)
Invisible Slip Stitch Joins and You
Invisible slip stitch joins in the round are by no means necessary when you are crocheting in the round BUT I highly recommend using them for best results, especially in projects that involve colour changes. It’s such a little extra step that’s a simple way to take your finished projects up a notch!
Now that you’ve got the hang of it, why not seek out some patterns featuring this type of join, or incorporate this join into your own designs? It’s so easy once you know how and with a bit of practice, you’ll find yourself opting to use this technique even if it’s not suggested in a pattern.
How about starting with this cute little crochet basket?
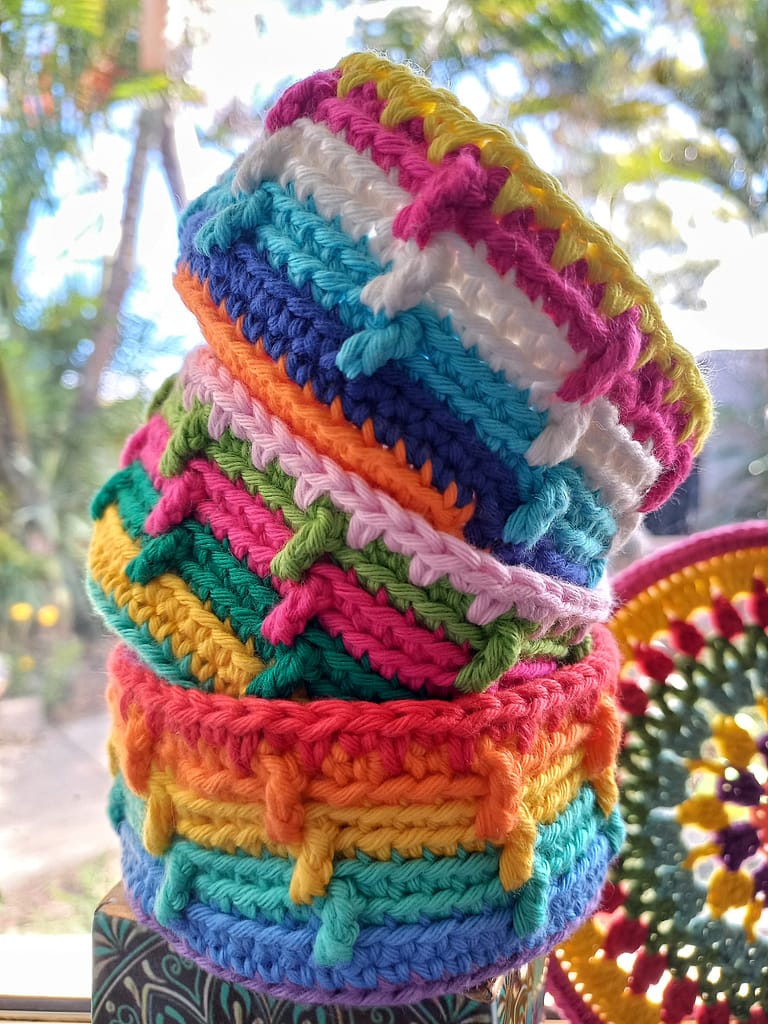
You can find the free pattern here, and it’s also available as a PDF on Etsy and Ravelry with no ads and all the photos in this invisible slip stitch tutorial, plus many more included.
So, go forth and make beautiful joins!! If you have any questions, I’m here for you 🙂